Air Compressor Failure: Diagnosing Slow Build-Up & Air Loss
November 12, 2026 · PartsNow Guides
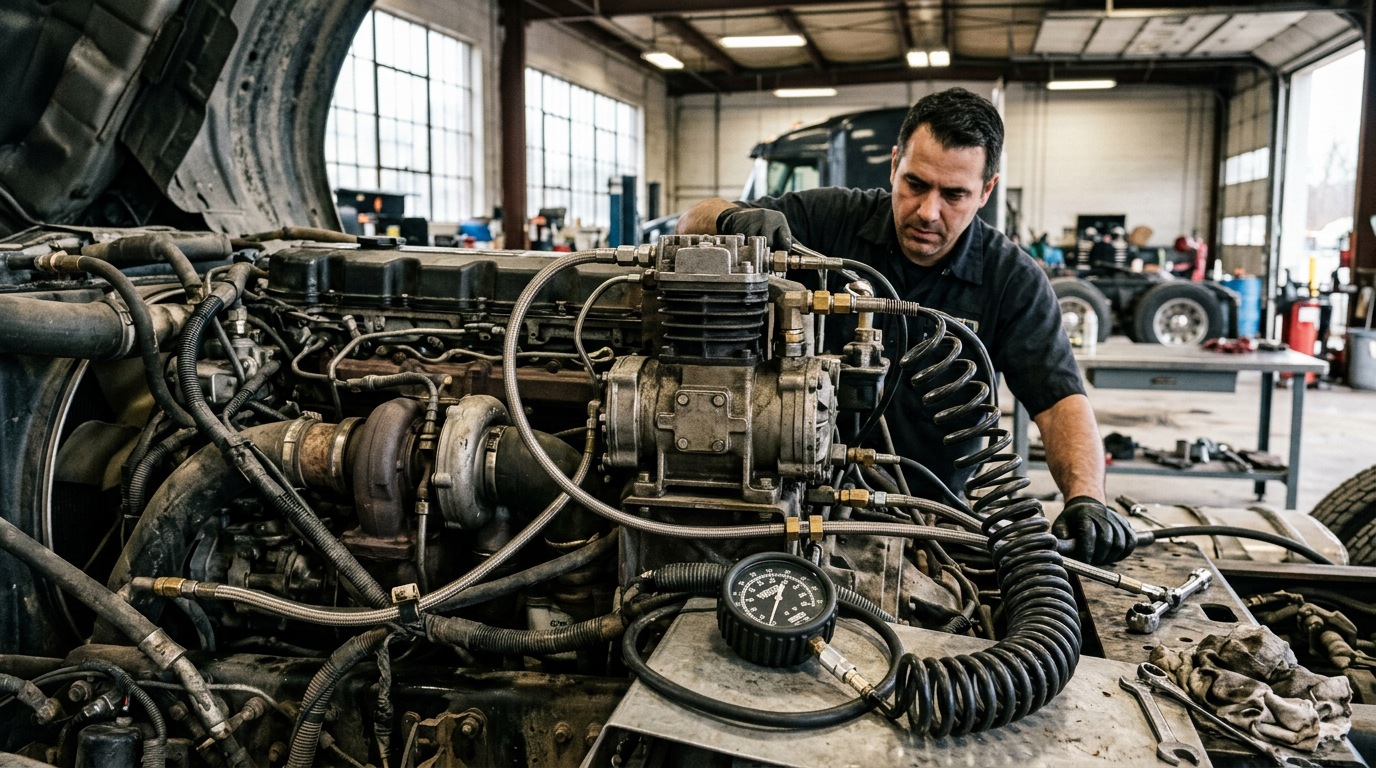
If your driver's complaining the air gauge is crawling to governor cutout, or the compressor sounds like it's working overtime just to hold 120 psi, you've got a problem that's only going to get worse. Slow build-up isn't just an annoyance — on a ProStar sitting at a dock with brakes locked for 20 minutes, a weak compressor can mean a driver can't release and move when dispatch calls. Ignore it long enough and you're looking at a roadside DOT out-of-service tag for low air warning or brake lag.
Most of the time this isn't a mystery. The compressor itself, the unloader valve, a clogged filter, or a leaking head gasket are doing 90% of the damage in these trucks. This guide walks through the diagnostic order we use in the shop — cheapest and easiest checks first — so you're not pulling a compressor off a ProStar's gear train for a problem that was really a $40 air filter.
Start With the Basics: Leaks, Filters, and Governor Settings
Before you blame the compressor, rule out everything downstream of it. A slow build-up complaint is often a leak complaint in disguise.
- Soap-test every fitting from the compressor discharge line back through the air dryer, wet tank, and primary/secondary tanks
- Check the air dryer purge valve — a stuck-open purge valve dumps air the second the compressor tries to charge the system
- Pull and inspect the intake air filter/strainer on the compressor — a restricted intake starves the compressor and slows pumping capacity significantly
- Confirm governor cutout/cutin settings are per OEM spec; a governor set too low will trigger constant cycling that looks like a weak compressor
On a ProStar, the compressor pulls intake air off the turbo side or a dedicated line depending on spec — check both ends for crimped hose or a collapsed inner liner before you go further.
Excessive Cycling: The Unloader Valve Is Usually the Culprit
If the compressor is cycling on and off rapidly, or won't fully unload at governor cutout (you'll hear it keep laboring instead of free-spinning), the unloader valve assembly is the first suspect.
- Listen for the compressor failing to "unload" — it should spin freely with a hiss of air once cutout pressure hits
- Check the unloader piston and O-rings for wear, carbon buildup, or a stuck valve
- Inspect the discharge check valve in the unloader body — a worn seat lets air bleed back, forcing the compressor to work harder on every stroke
- Look for oil carbon varnish on the unloader bore, a sign of blow-by or overheating
Unloader kits are cheap compared to a full compressor and are a normal wear item on high-cycle applications like regional or vocational trucks with frequent brake applications. If the unloader's shot but the rest of the compressor checks out, rebuild this component before condemning the whole unit.
Oil in the Air Lines: Head Gasket and Piston Ring Wear
Oil showing up in your air dryer cartridge or dripping from the discharge line almost always points to one of two things: a failing head gasket or worn piston rings/cylinder walls.
- Pull the discharge line and check for wet, oily residue versus normal condensation
- Inspect the head gasket for blow-by between the head and cylinder block — look for oil seepage at the gasket line externally too
- A compression/leak-down style check on the compressor cylinders will tell you if rings or cylinder walls are worn past spec
- Check the air dryer desiccant cartridge — if it's saturated with oil, it's not doing its job and contaminated air is reaching your brake chambers and valves
A bad head gasket is a straightforward in-chassis repair on most International compressors. Worn rings or scored cylinders mean a rebuild or replacement — don't just swap the gasket and hope, because oil will keep working past worn rings regardless.
Diagnostic Order: How We Test It in the Shop
Work through this sequence before you condemn a compressor — it saves comebacks and warranty headaches:
- Step 1: Drain tanks, soap-test all fittings and the air dryer purge valve
- Step 2: Check intake filter/strainer restriction and discharge line for kinks or damage
- Step 3: Time the build-up — from governor cutin to cutout, per OEM spec for your compressor's CFM rating, engine RPM during test matters too
- Step 4: Check unloader function at cutout — listen and feel for proper unloading
- Step 5: Inspect discharge air for oil contamination
- Step 6: If steps 1-5 don't explain it, pull the compressor's cylinder head and inspect valves, gasket, and bore condition
Document your findings at each step. If you're swapping parts on a guess without this order, you're burning labor hours and still might miss the real problem.
Rebuild vs. Replace: Making the Call
Once you've found worn rings, scored cylinder walls, or a cracked housing, you've got a decision to make.
- Rebuild when the block and crank are solid and you're only replacing head, gaskets, unloader, and valves — this is the cheaper route and works fine on compressors with reasonable mileage
- Replace when you see cylinder wall scoring, crankshaft play, or the compressor has already been rebuilt once before and is failing again
- Factor in labor — on a ProStar, compressor R&R involves gear train access and isn't a quick job, so if the unit's marginal, replacing outright often pencils out better than a second rebuild down the line
- Always replace the air dryer cartridge after any oil-in-air-lines failure — running a contaminated cartridge after the fix defeats the repair
When in doubt on a safety-critical air system repair, especially anything touching service brake supply, have a certified tech sign off on the completed work before the truck goes back in service.
Quick answers
Why is my air compressor cycling constantly on my ProStar?
Rapid cycling usually means the unloader valve isn't holding at cutout pressure, forcing the compressor to keep working instead of free-spinning. Check the unloader piston, O-rings, and discharge check valve first before assuming the whole compressor is bad.
How long should it take air pressure to build from 85 to 100 psi?
Build-up time is per OEM spec and depends on your compressor's CFM rating and engine RPM during the test, so check your service manual for the exact figure. If it's taking noticeably longer than spec at normal RPM, start checking for leaks, a restricted intake filter, or a weak compressor.
What causes oil to show up in the air dryer?
Oil in the air dryer cartridge points to a failing head gasket or worn piston rings/cylinder walls in the compressor letting oil pass into the discharge air. Replace the saturated cartridge and diagnose the compressor before it contaminates your brake valves and chambers.
Can I just replace the unloader valve instead of the whole compressor?
Yes, if the unloader is the only failure point and the rest of the compressor checks out on inspection, a rebuild kit for the unloader assembly is a normal and cost-effective repair. Don't replace the whole unit unless you've confirmed cylinder or ring wear too.
Is a slow-filling air system a DOT violation?
If build-up time is slow enough that the truck can't maintain minimum air pressure for safe brake operation, it can absolutely get flagged during a roadside inspection. Any diagnosis or repair involving the brake air supply system should be verified by a certified tech before the truck is put back in service.
Parts for this job
Real products from the PartsNow catalog. Confirm fitment with Mike before ordering.


Still not sure what's wrong?
Mike — the free AI truck consultant — will walk through your exact symptoms and point you to the right part. No account, English or Spanish, 24/7.
Related truck: International ProStar— specs & parts
